

I’m back today with yet another pom pom DIY. Partially because once you’ve bought some yarn you might as well put it to use but also because there is just so many DIY’s that you can do with a simple little pom pom. If you haven’t seen my others you can check out the DIY jumper here and the DIY wicker baskets here. But today it is all about this adorable DIY Pom-pom Wall Hanging.
How To Make The Pom Poms:
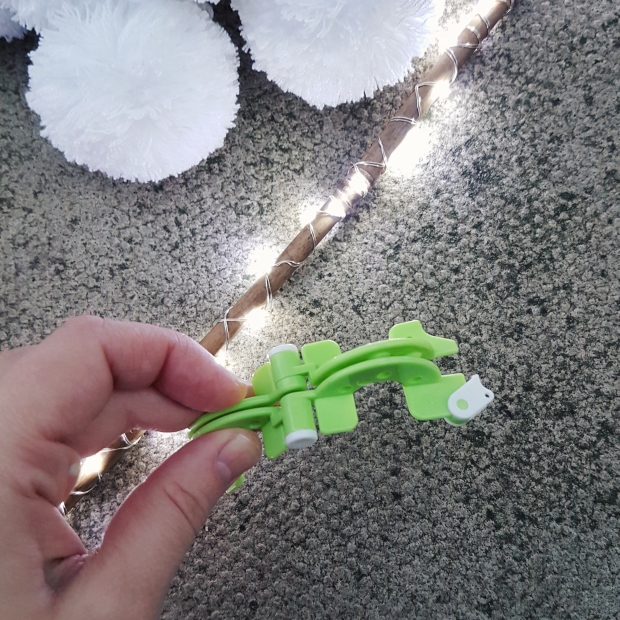
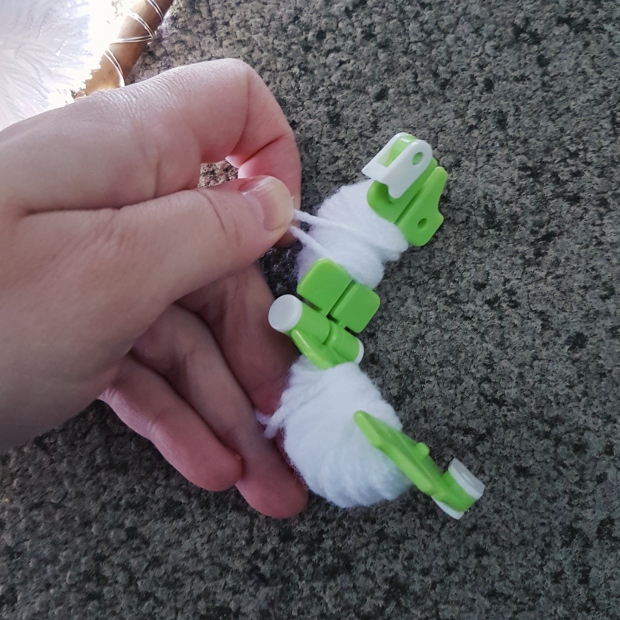
Using a pom pom maker

- Place the two sides together as shown below. Begin wrapping the yarn around one side until you are no longer able to see the makers frame. The more yarn you wrap around the larger your pom pom will be. But don’t over-wrap too much as you do have to bring the two sides together in a later step.
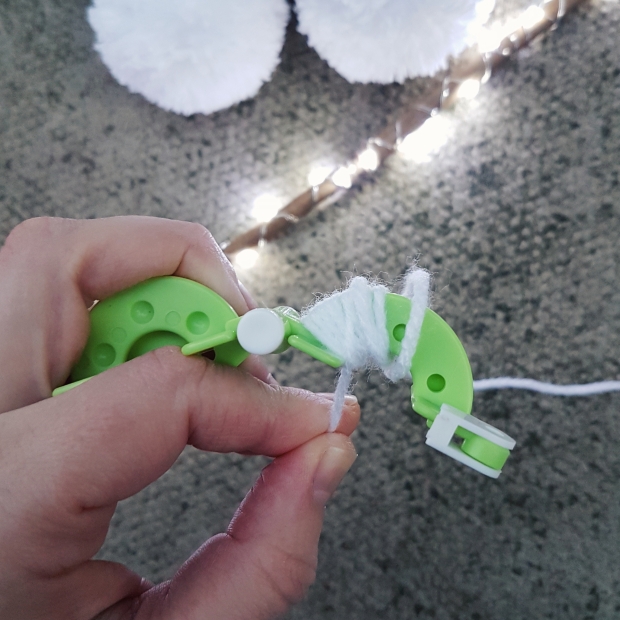
- Once it looks similar to the below picture cut the yarn and move onto the other side of the maker repeating the above step.
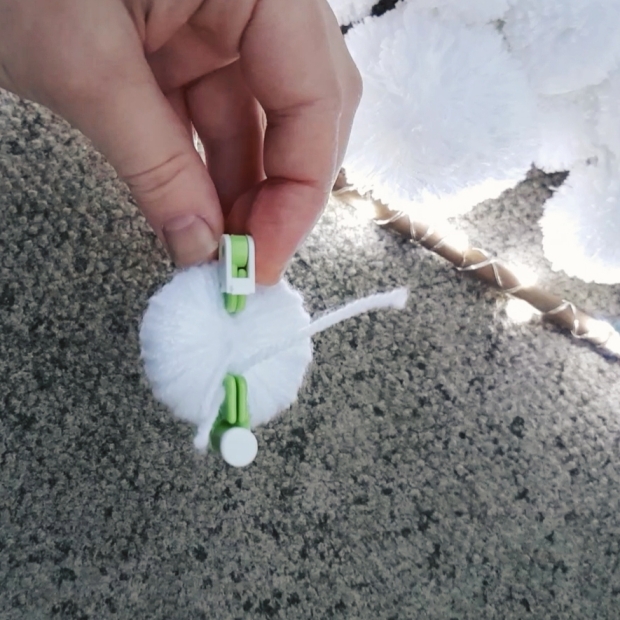
- Once you have got a similar amount of yarn on both sides pull all four ends of the yarn taut and close and lock the frame. You can pull them tighter once the frame is locked too.
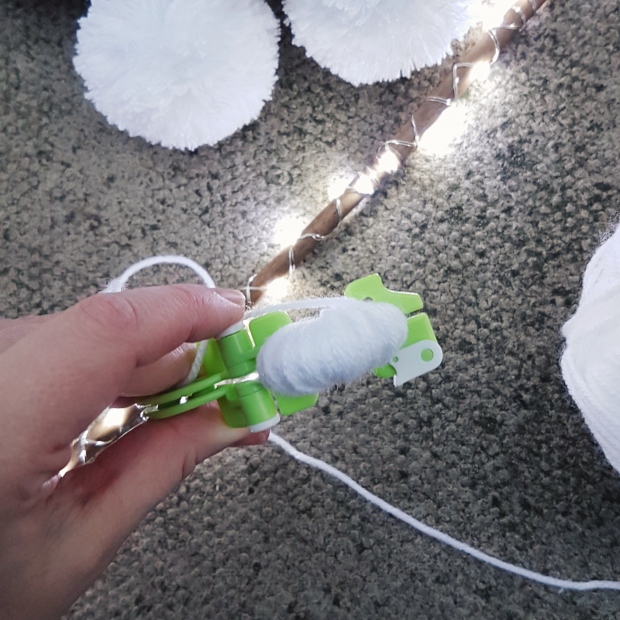
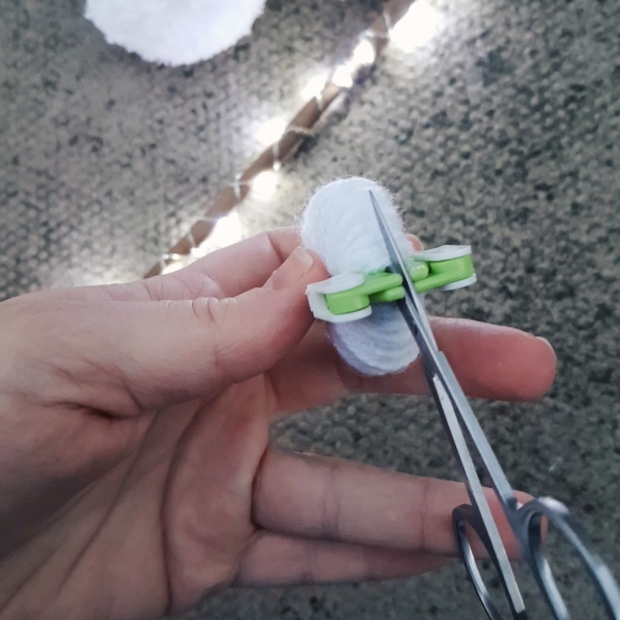
- Next cut along sides following the space provided between the two frames. Take a new piece of yarn and wrap it around the centre, pushing it into the gap you just cut along.
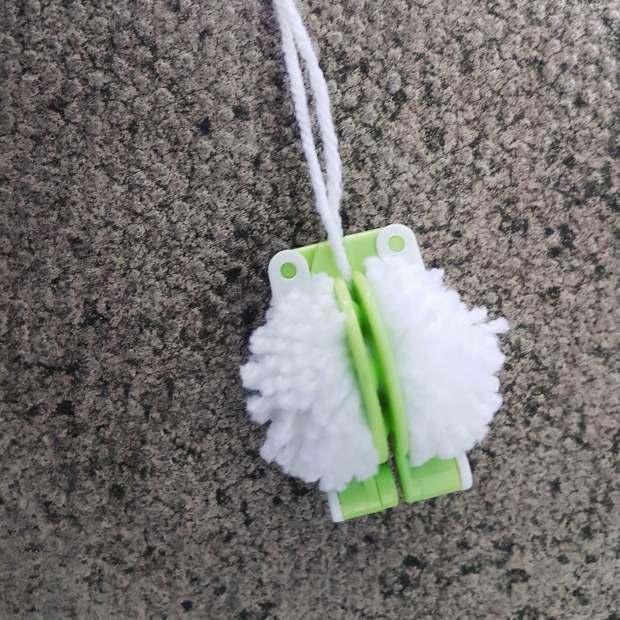
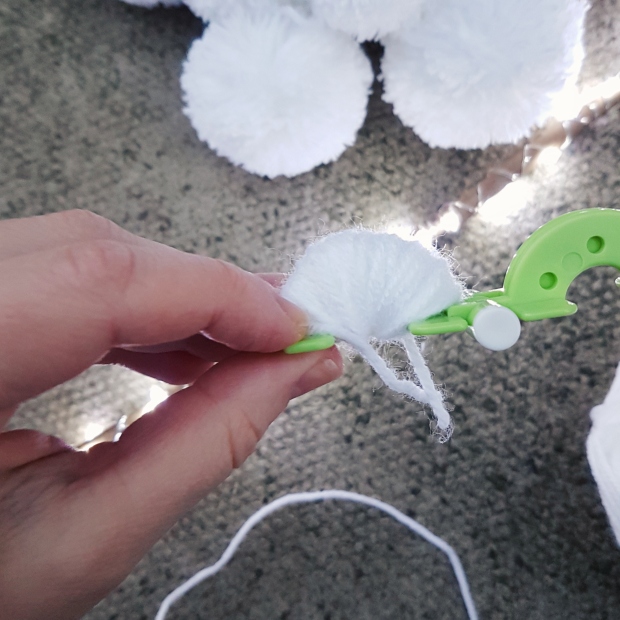
- Once you have tied multiple knots to secure the pom pom you can remove the maker. You might need to roll the pom into shape and will likely need to trim it into a circle if you want it to be a perfect ball.
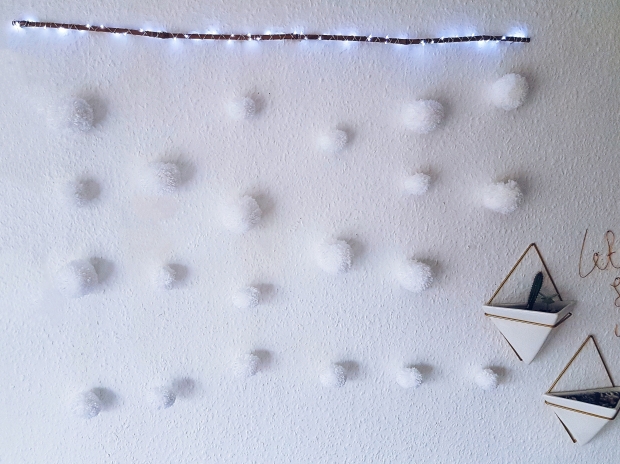
I made two different sizes of pom poms, with each not being exactly the same size as I didn’t choose to count how many times I looped the yarn. Which you could do if you wanted them to be exactly the same size. I also went with white for all of them as I didn’t want it to be a hard hitting wall hanging. I basically wanted it to be more about the different textures against my bedroom wall. But you could do any colour of yarn you want.

You can also use the fork method which I showed you how to do in my DIY jumper post. There are also multiple other methods which you can find with a quick Google search.
How To Make The Pom-pom Wall Hanging:
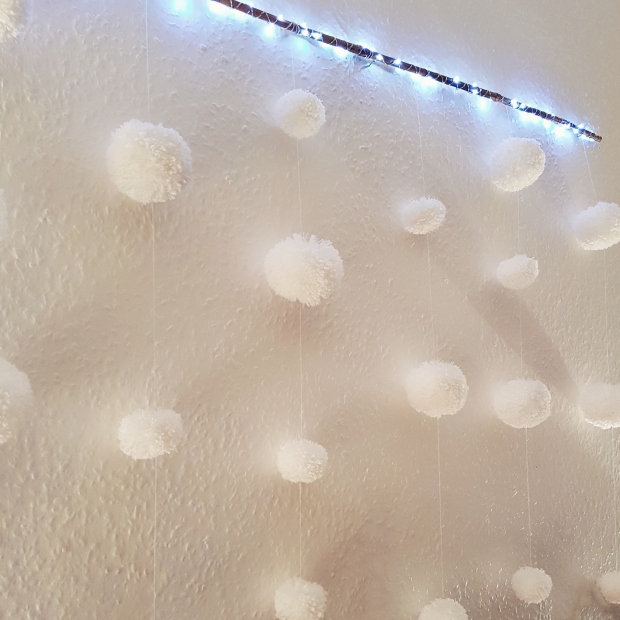
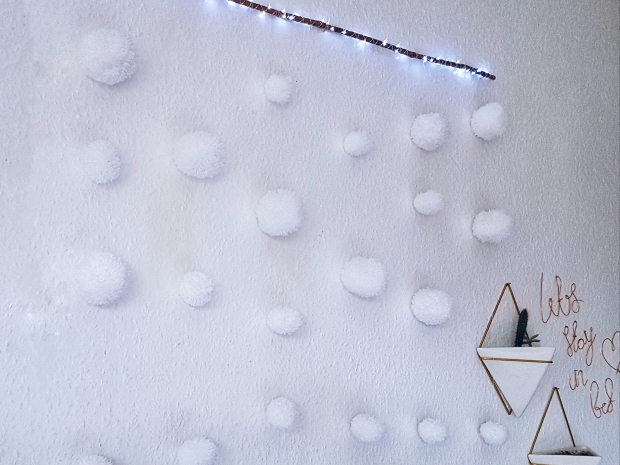
I took a bamboo cane that I already had but you could use any piece of wood you want. Driftwood, hardwood dowels, gardening bamboo like me. You can even just go and find a big ol’ stick on a walk! Do you. Then you can leave it au naturel or sand it and stain it a colour. Or wrap it in lights like I did.
Once I felt I had enough pom poms in the different sizes, I did a quick gauge of how I would want them to hang. This isn’t too important regarding the exact location of each pom as you can adjust how high or low it sits later. But I wanted to be able to see how many on average I would want on each row.
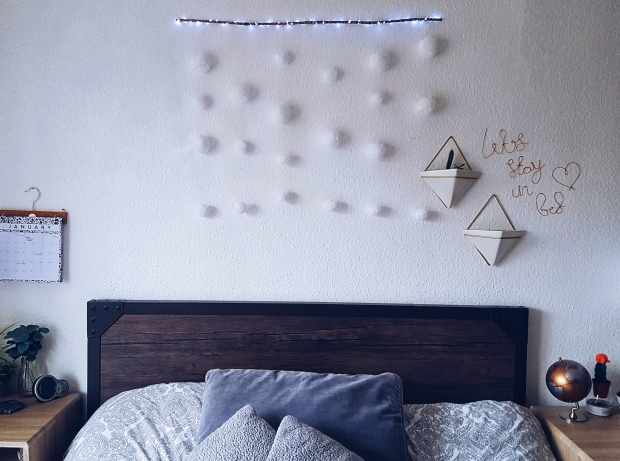
As I said earlier I did this DIY for Christmas but didn’t get round to posting it, so excuse the festive bedding which randomly changes to standard bedding in later pictures.

The next step is to take a piece of sewing thread, I went with white so you almost can’t see how they are connected, and cut as many length as you need all to a similar length. This length is based on how low you want the lowest pom pom to hang. I gauged this by laying it out on my bed like above. And then just start threading them through the centre of each pom pom.
Once this was done and I had all the rows of pom poms connected I cut off any excess yarn. And finally secured all the rows to my bamboo. And that’s it, you’re DIY Pom-Pom Wall Hanging is done.
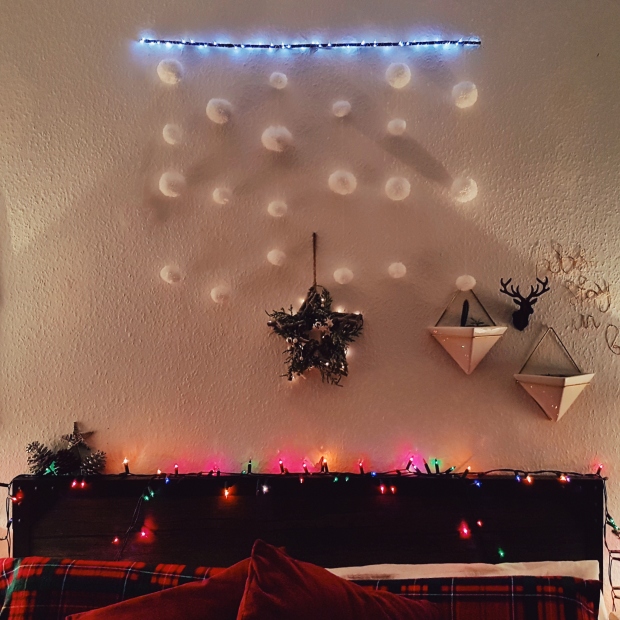
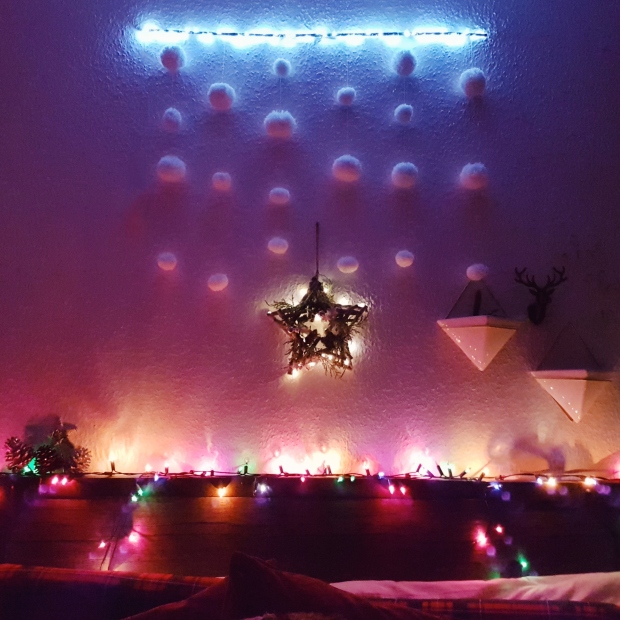
Here are a few pictures of it with my Christmas set up (in different degrees of light) to show how it looks if you only want to use it at Christmas time.
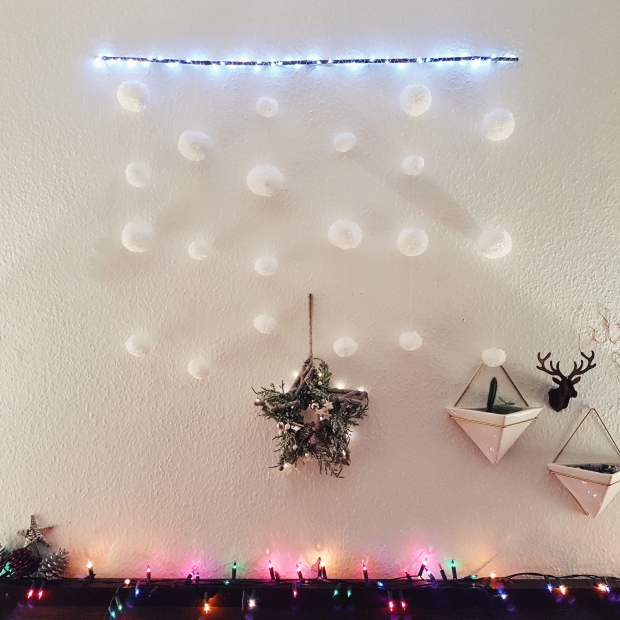
But I love how it looks by itself so I’ll be keeping it up all year round. It’s a lovely touch of minimalistic hygge vibes in my opinion. And I love the way it’s not over-elaborate. Although don’t get me wrong, I think this would look equally cute with bright colours, say in a nursery. But for me, lately at least, muted colours are more my jam when it comes to decor. – Although I do get that saying that right after my Christmas room pictures might sound backwards. But Christmas doesn’t count! Christmas is a law onto its own.
What do you think of this DIY? Is it something you would try or be happy to have hanging in your bedroom?
WHERE YOU CAN FIND ME
Instagram | Twitter | Pinterest
THIS POST CONTAINS AFFILIATE LINKS, WHICH MEANS THAT IF YOU CLICK & BUY FROM ONE OF THE PRODUCT LINKS, I’LL RECEIVE A SMALL COMMISSION. THANK YOU VERY MUCH FOR SUPPORTING MY BLOG AND MY PASSION.

Love the touch of hygge to your room, Sarah. The cane adds the perfect touch of warmth and you have styled it oh so charmingly. xx
LikeLike
Thank you 😊 I’m loving having it xx
LikeLike
Beautiful, Sarah!! I love that you wrapped it in lights. Gives it such a cozy feel! ❤
LikeLike
Thanks Courtney! It is really cosy to have on with my other twinkle lights, especially with those cold, dark evenings! 😊
LikeLike
I love this so much!! Its such a cute and easy idea and it looks so awesome!!love the fairy lights, I’d say it’s perfect year round not just xmas lol.
LikeLike
It was meant to be just for Christmas but I liked it too much to only have it up for one month of the year 😊 and I think it puts out a different vibe when all the Christmas decorations aren’t around too. It’s festive with them but simplistic without 😊
LikeLike
Yes! I totally agree! Alex made me take down my twinkle lights that I had wrapped in some decorative string because “it wasn’t xmas anymore” and I kept insisting that it wasn’t xmas decor lol. I only got to keep it for an extra week after NYE lol
LikeLike
Spoil sport 😉 I think if you want them not to be Christmas-y then it’s best to just have plain lights vs coloured which are much more festive
LikeLike